So after getting a great dose of inspiration for pallets, off I went on my mission to create my very own Outdoor Chillout Lounge with the help of my friend Miss Mascara Me.


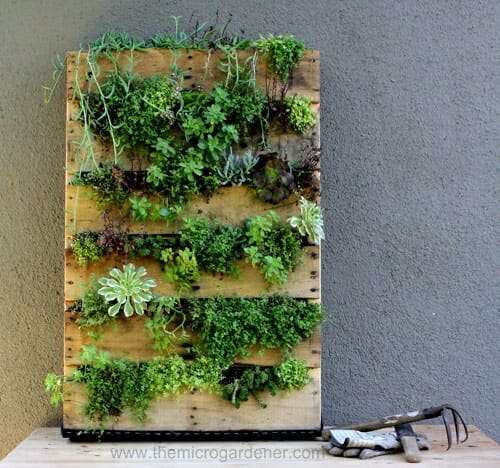
I did some research and heat treated (marked by the symbol HT) is the safest kind to use rather than chemically treated especially if they're being used to hold vegetables/herbs or sanded for painting. Luckily there is a factory near where I live and the guys there were more than happy to give me the pallets they were throwing out, so I picked out the nice and clean looking ones. They seemed impressed to have a chick try out some handy work ... tradie chick they called me hahah. They even kindly carried them home for me!
 Let the sanding begin!
To get them into a decent enough condition to paint, we needed to sand them down first so I got myself a nifty little Ozito 1/3 sheet orbital sander from Bunnings for about $35. I didn't want to spend a lot on it but wanted something decent and simple enough for a beginner to use and do the job. Miss Mascara Me had a detailed sander so this was useful for the corners, edges and harder to reach bits whereas my sander worked well on the larger areas.


Painting up a storm
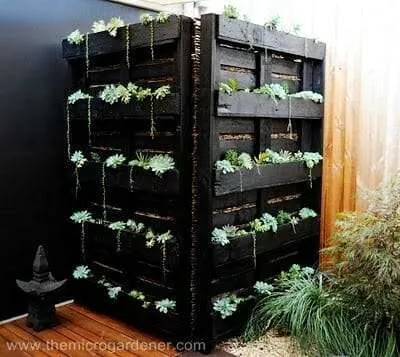
 I originally was going to get Taubmans Sunproof Max as it's a good quality paint until I found a great bargain at graysonline for a brand new 10L can of Nippon exterior premium acrylic gloss paint worth $125 for only $9 at auction! Chuffed with that great find! Nippon is a Japanese brand which was previously stocked in Bunnings. The sale included a tinting voucher for $2 a litre at a Taubmans or Bristol Paint store. To my surprise the $20 tinting I paid included $20 worth of products of my choice as well so I got a paint brush 3 pack set, paint can opener, sanding block and dust masks. This paint deal was getting even better!
Putting it all together
After playing around with some different looks and combinations, here is how it progressed.

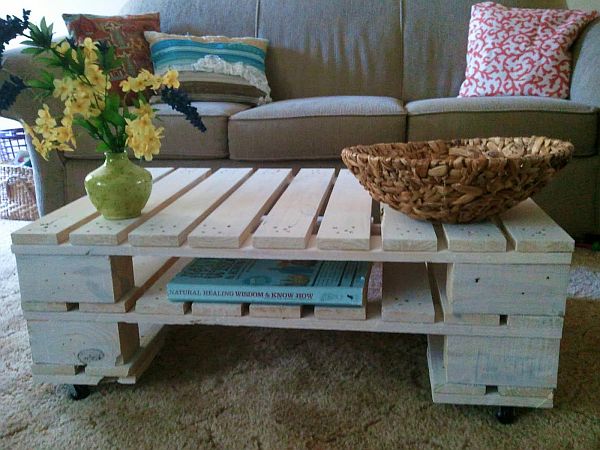
We even built a little table on wheels with dismantled bits of pallets to match :) Dismantling was definitely not easy with the amount of nails they put into these things! After trial and error with a quite a few broken planks, sweat and hard muscle power (and a hot bath after to sooth those muscles) we managed to get enough usable bits of wood and even nails to reuse. Here we also learnt how to use a hand saw for the first time! I bought a Stanley Handsaw for about $10 and a work bench for $20 at Bunnings to get it done without accidently chopping our fingers off!


So what do you think of our first effort into transforming old pallets?


